The eMail notifying you of the failure of your scan will have specific information on your scan.
However, the most common reasons for a failed or bad LASER scan are:
Too much surrounding light or backlight
While VISION Scans need to be on the bright side, LASER scans need to be done in dimmed environments.
Try to establish an environment with 10-50 LUX and the light coming from behind without throwing a shadow on the Block Code Tape or the Turn Table.
You can measure the brightness (LUX) by using one of these free apps:
iOS: LUX Light Meter Pro
Android: LUX Light Meter
A comprehensive list of light metering apps can be found here.
AVOID Backlight. Always have the light coming from behind.
AVOID Direct Sunlight.
DISABLE automatic light correction/exposure on your phone.
On iOS:
Go into Settings -> Camera -> Preserve Settings -> Exposure Adjustment

After making these changes your camera will show the exposure settings while you are recording your video. The Screenshot shows a -1 Setting that we have been successfully working with.

On Android:
Tap in the middle of Turn Table Sleeve Ring with the Block Code Tape and drag your finger vertically to set the desired camera exposure:

Make sure that you have a surrounding light of about 10 – 50 Lux and there is no significant variation in lighting. If you have too much light and can’t get rid of it, try using a GRAY IKEA DRÖNA box and put your turn table into it while scanning. Also make sure that there no shadows are thrown at the block tape.
Too little surrounding light
If things are too dark where you scan. Again – shoot for about 10-50 Lux when using a standard 5mW laser.
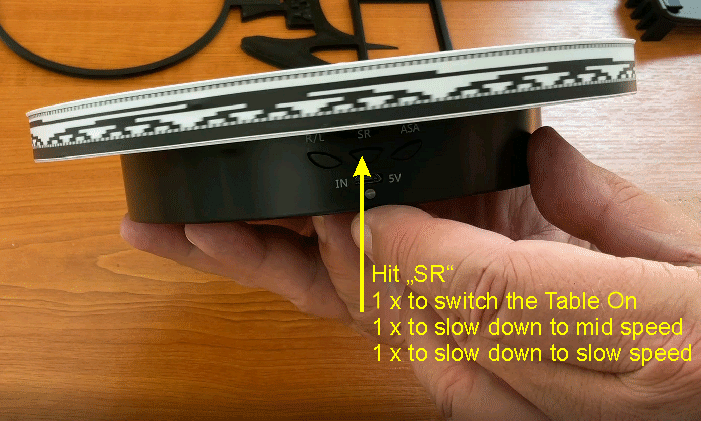
Set your Turn Table to SLOW speed and make sure it rotates clockwise
The Turn has 3 speeds it can operate on. Set it to the slowest speed and make sure that it turns clockwise.

Camera Focus is not on the Object on the Turn Table
A lot of mobile phones allow to manually set the camera focus by tapping on the area you wish to focus on. Make sure your focus is on the Turn Table Sleeve that is closest to your phone by tapping on that part of the image before recording.
If your video looks like this
· Clearly visible Laser Line on Scan Object
· Clearly visible Laser Line on Block Code Tape
· Camera Focus on the Object on the Turn Table NOT ON THE BACKGROUND
you should be OK:

Busy Background
As some of ASCAND algorithms rely on background removal, make sure no one walks through your video when you record. Always have stable lighting and background conditions while taking the scan video.
Vibrations of the Turn Table or the Phone
Make sure your ASCAND 3D scanner is free of vibrations while you are recording the scan video. Also make sure that no one bumps into the table the ASCAND is placed on. Also make sure that switching the Laser off during the scan process does not shake the ASCAND.
Calibrate your ASCAND 3D Scanner
The factory setting of the ASCAND is set to the most common vertical size of the Smartphones sold in 2020-23.
During the registration process you are asked for the phone you will use for recording the scan videos. This will enable our ASCAND platform to use the phones geometry for optimizing the scan.
Additionally, you can scan our Checkerboard Coaster for fine tuning the scanning process to the Phone you are using. The status of the fine tuning will be shown in your profile.
Please have a look at this video to see how easy it is to get the perfect setup.